

Microwave
What if your 3D print could change shape—expand, twist, collapse—without motors, wires, or gears? Just pure microwave energy?
TimeMass Microwave is the first-ever filament that transforms under electromagnetic radiation. No mechanics. Just heat, vapor, and smart geometry doing all the work.
Most thermoplastics ignore microwaves. Ours eats them for breakfast.
It’s made with polar molecular groups that absorb microwave frequencies (yeah, like your food does). Once activated, it heats up from the inside, triggering built-in shape changes—from slow bends to sudden inflations.
How it works:
Microwave activation – UHF radiation excites the polar molecules. Boom: internal heat.
Microfluidic expansion – embedded water vaporizes, causing controlled pressure changes.
Programmable geometry – smart design means you can decide how it transforms.
What can you actually do with this?
Morphing sculptures – kinetic art that moves with invisible waves.
Self-expanding structures – think packaging, architecture, deployable tech.
Soft robotics & smart actuators – no motors needed, just energy.
Interactive displays – things that open, bend, or animate on command.
Space tech – lightweight, compact prints that “deploy” mid-orbit.
Need Ideas? Here You Go:
Transforming sculptures and kinetic art piecesthat change under microwave exposure.
Self-expanding objects, such as soft robotic actuators or deployable structures.
Educational experiments in thermodynamics and microwave interaction physics.
Custom food-safe molds that expand slightly when heated to create precise shaping.
Biomimetic designs, inspired by nature’s shape-shifting structures.
Free U.S. Standard Shipping on orders of 5+ spools.
Custom colors & nutrient ratios for 5+ same-type spools’ orders
Made in the USA.
-
1. Introduction
These parameters are designed to help avoid printing issues; however, temperatures and speed timings can be adjusted based on your specific goals. For example, if you prefer a less rigid result, we recommend using a lower temperature. This section outlines a complete slicing and printing profile for TimeMass Microwave, tailored for printers with a 0.8 mm nozzle. If the print is not being successful, please lower the nozzle temperature by 10°C and start over until an optimal print is achieved. While these examples were printed with a 0.8 mm nozzle, TimeMass can be used with any nozzle size. Please check the manual for printing parameters with all the other nozzle sizes.2. Temperature Settings
2.aNozzle Temperature: 240°C — Optimal for flowability while avoiding decomposition (which begins around 250°C).
2.bBed Temperature: 95°C — Ensures strong first-layer adhesion and prevents moisture bubbling.
2.cNozzle Temperature Range: 230–245°C — Timeplast melts around 165°C but prints best at 240°C for precise viscosity control.3. Cooling Settings
3.aNo Cooling for First Layers: 3 layers — Prevents shrinkage due to rapid cooling of moisture-rich filament.
3.bFan Minimum Speed: 0% for the first 100 seconds — Allows heat retention during early layers.
3.cFan Maximum Speed: 15% starting at 8 seconds — Avoids overcooling that can lead to warping.
3.dKeep Fan Always On: OFF — Allows vapor to escape and avoids internal fogging.
3.eSlow Down for Cooling: ON — Improves surface finish with controlled cooling.
3.fForce Cooling for Overhangs: OFF — Overcooling can deform bridges in Timeplast.
3.gFan for Overhangs: 15% — Only for essential cooling in complex areas.
3.hPre-Start Fan Time: 2 seconds — Minimizes pressure differential during the first layer.4. Volumetric Flow
4.aMax Volumetric Speed: 12 mm³/s — Based on a melt flow index of ~15 g/10min, allows high-speed printing.
4.bRamming Speed: 3 mm³/s — Prevents bubbles or popping from pressure spikes.5. Retraction and Flow
5.aRetraction Distance: 0.4 mm — Minimal retraction required for soft filaments to avoid stringing.
5.bRetraction Speed: 15 mm/s — Slow enough to avoid pulling molten plastic.
5.cPressure Advance: 0.05 — Compensates for nozzle lag at high flow rates.
5.dFlow Ratio: 92% — Slight under-extrusion avoids swelling and surface artifacts.6. Precision Settings
6.aGap Closing Radius: 0.1 mm — Tolerant of gaps in thicker walls.
6.bArc Fitting: ON — Reduces G-code size and smooths curve transitions.
6.cElephant Foot Compensation: 0.1 mm — Offsets squishing in the first layer caused by large bead sizes.7. Walls and Shells
7.aWall Loops: 2 — Minimum for strength when using a 0.8 mm nozzle.
7.bDetect Thin Walls: ON — Ensures tight geometries aren’t skipped.
7.cTop/Bottom Shell Layers: 3 — Provides good coverage; increase if watertightness is needed.
7.dTop/Bottom Thickness: 1.2 mm — Equals 1.5x the nozzle size for solid strength.
7.eTop/Bottom Pattern: Monotonic — Distributes tension evenly and improves surface finish.8. Geometry and Movement
8.aWall Order: Inner before Outer — Creates cleaner outer surfaces.
8.bInfill First: OFF — Maintains precise outer dimensions.
8.cSmooth Speed Transition: ON — Prevents ringing caused by abrupt speed changes.
8.dSmooth Coefficient: 80 — Ideal damping for soft materials.
8.eAvoid Crossing Wall: ON — Minimizes stringing across part walls.
8.fMax Detour for Crossing: 10 mm or 5% — Balances time with print cleanliness.9. Layer and Width Settings
9.aLayer Height: 0.3 mm — Optimal for strength and resolution using a 0.8 mm nozzle.
9.bInitial Layer Height: 0.35 mm — Slightly higher to improve adhesion.
9.cLine Widths (all): 0.8 mm — Matches nozzle diameter for consistent extrusion.10. Seam Settings
10.aSeam Position: Aligned or Back — Use aligned for mechanical consistency, back for visual appeal.
10.bSmart Scarf Seam: ON — Automatically adjusts seam location to reduce visual impact.
10.cSeam Angle: 155° — Standard seam angle for clean transitions.
10.dSeam Steps: 10 — Smooths seam path and improves visual finish.11. Infill Settings
11.aWall/Infill Overlap: 10% — Prevents infill from deforming soft exterior walls.
11.bInfill Combination: ON — Consolidates paths for efficiency.
11.cDetect Floating Shells: ON — Ensures unsupported vertical structures are printed reliably.
11.dSparse Infill Density: 20–25% — Balanced rigidity vs. material use.
11.eSparse Pattern: Grid — Stable and efficient for flexible geometries.12. Speed Settings
12.aTravel: 160 mm/s — Fast but safe against backlash.
12.bInitial Layer: 15 mm/s — Prevents nozzle from skimming and ensures bed adhesion.
12.cOuter Wall: 60 mm/s — Controlled speed for surface quality.
12.dInner Wall: 90 mm/s — Slightly faster without compromising control.
12.eSmall Perimeter: 35 mm/s — Reduced speed for detailed geometry.
12.fTop Surface: 40 mm/s — Improves finish on topmost layers.
12.gInfill: 100–120 mm/s — Takes advantage of high flowability.13. Acceleration Settings
13.aNormal Print: 2000 mm/s² — Prevents ringing in soft filaments.
13.bTravel: 4000 mm/s² — Enables fast movement without harsh transitions.
13.cInitial Layer: 300 mm/s² — Gentle movement prevents lifting from the bed.
13.dOuter Wall: 1500 mm/s² — Improves outer surface clarity.
13.eInner Wall: 2000 mm/s² — Balanced for structural components.
13.fTop Surface: 1500 mm/s² — Ensures smooth detailing.14. Adhesion and Brims
14.aSkirt Loops: 2 — Helps prime nozzle and start cleanly.
14.bBrim Width: 6 mm — Helps hold soft materials down.
14.cBrim Gap: 0.15 mm — Allows for easy removal without tearing.15. Prime Tower and Flush Settings
15.aPrime Tower: ON — Purges moisture and early flow inconsistencies.
15.bTower Width: 40 mm — Prevents collapse due to heat.
15.cBrim Width (Tower): 4 mm — Adds stability to the purge base.
15.dFlush Into Support: ON — Discards unwanted early flow safely.16. G-Code Start Script
M900 K0.05 ; Pressure Advance M106 S0 ; Fan off G92 E0 G1 E15 F300 ; purge line G92 E0
17. Additional Notes
17.aDry filament at 100°C for 2 hours before use.
17.bStore with desiccant.
17.cKeep extruder door open to allow vapor to escape.
17.dAvoid long dwell times at high temperatures.If you need print settings for other nozzle sizes, feel free to reach out to us at timeplast@timeplast.com — we’ll be happy to help.
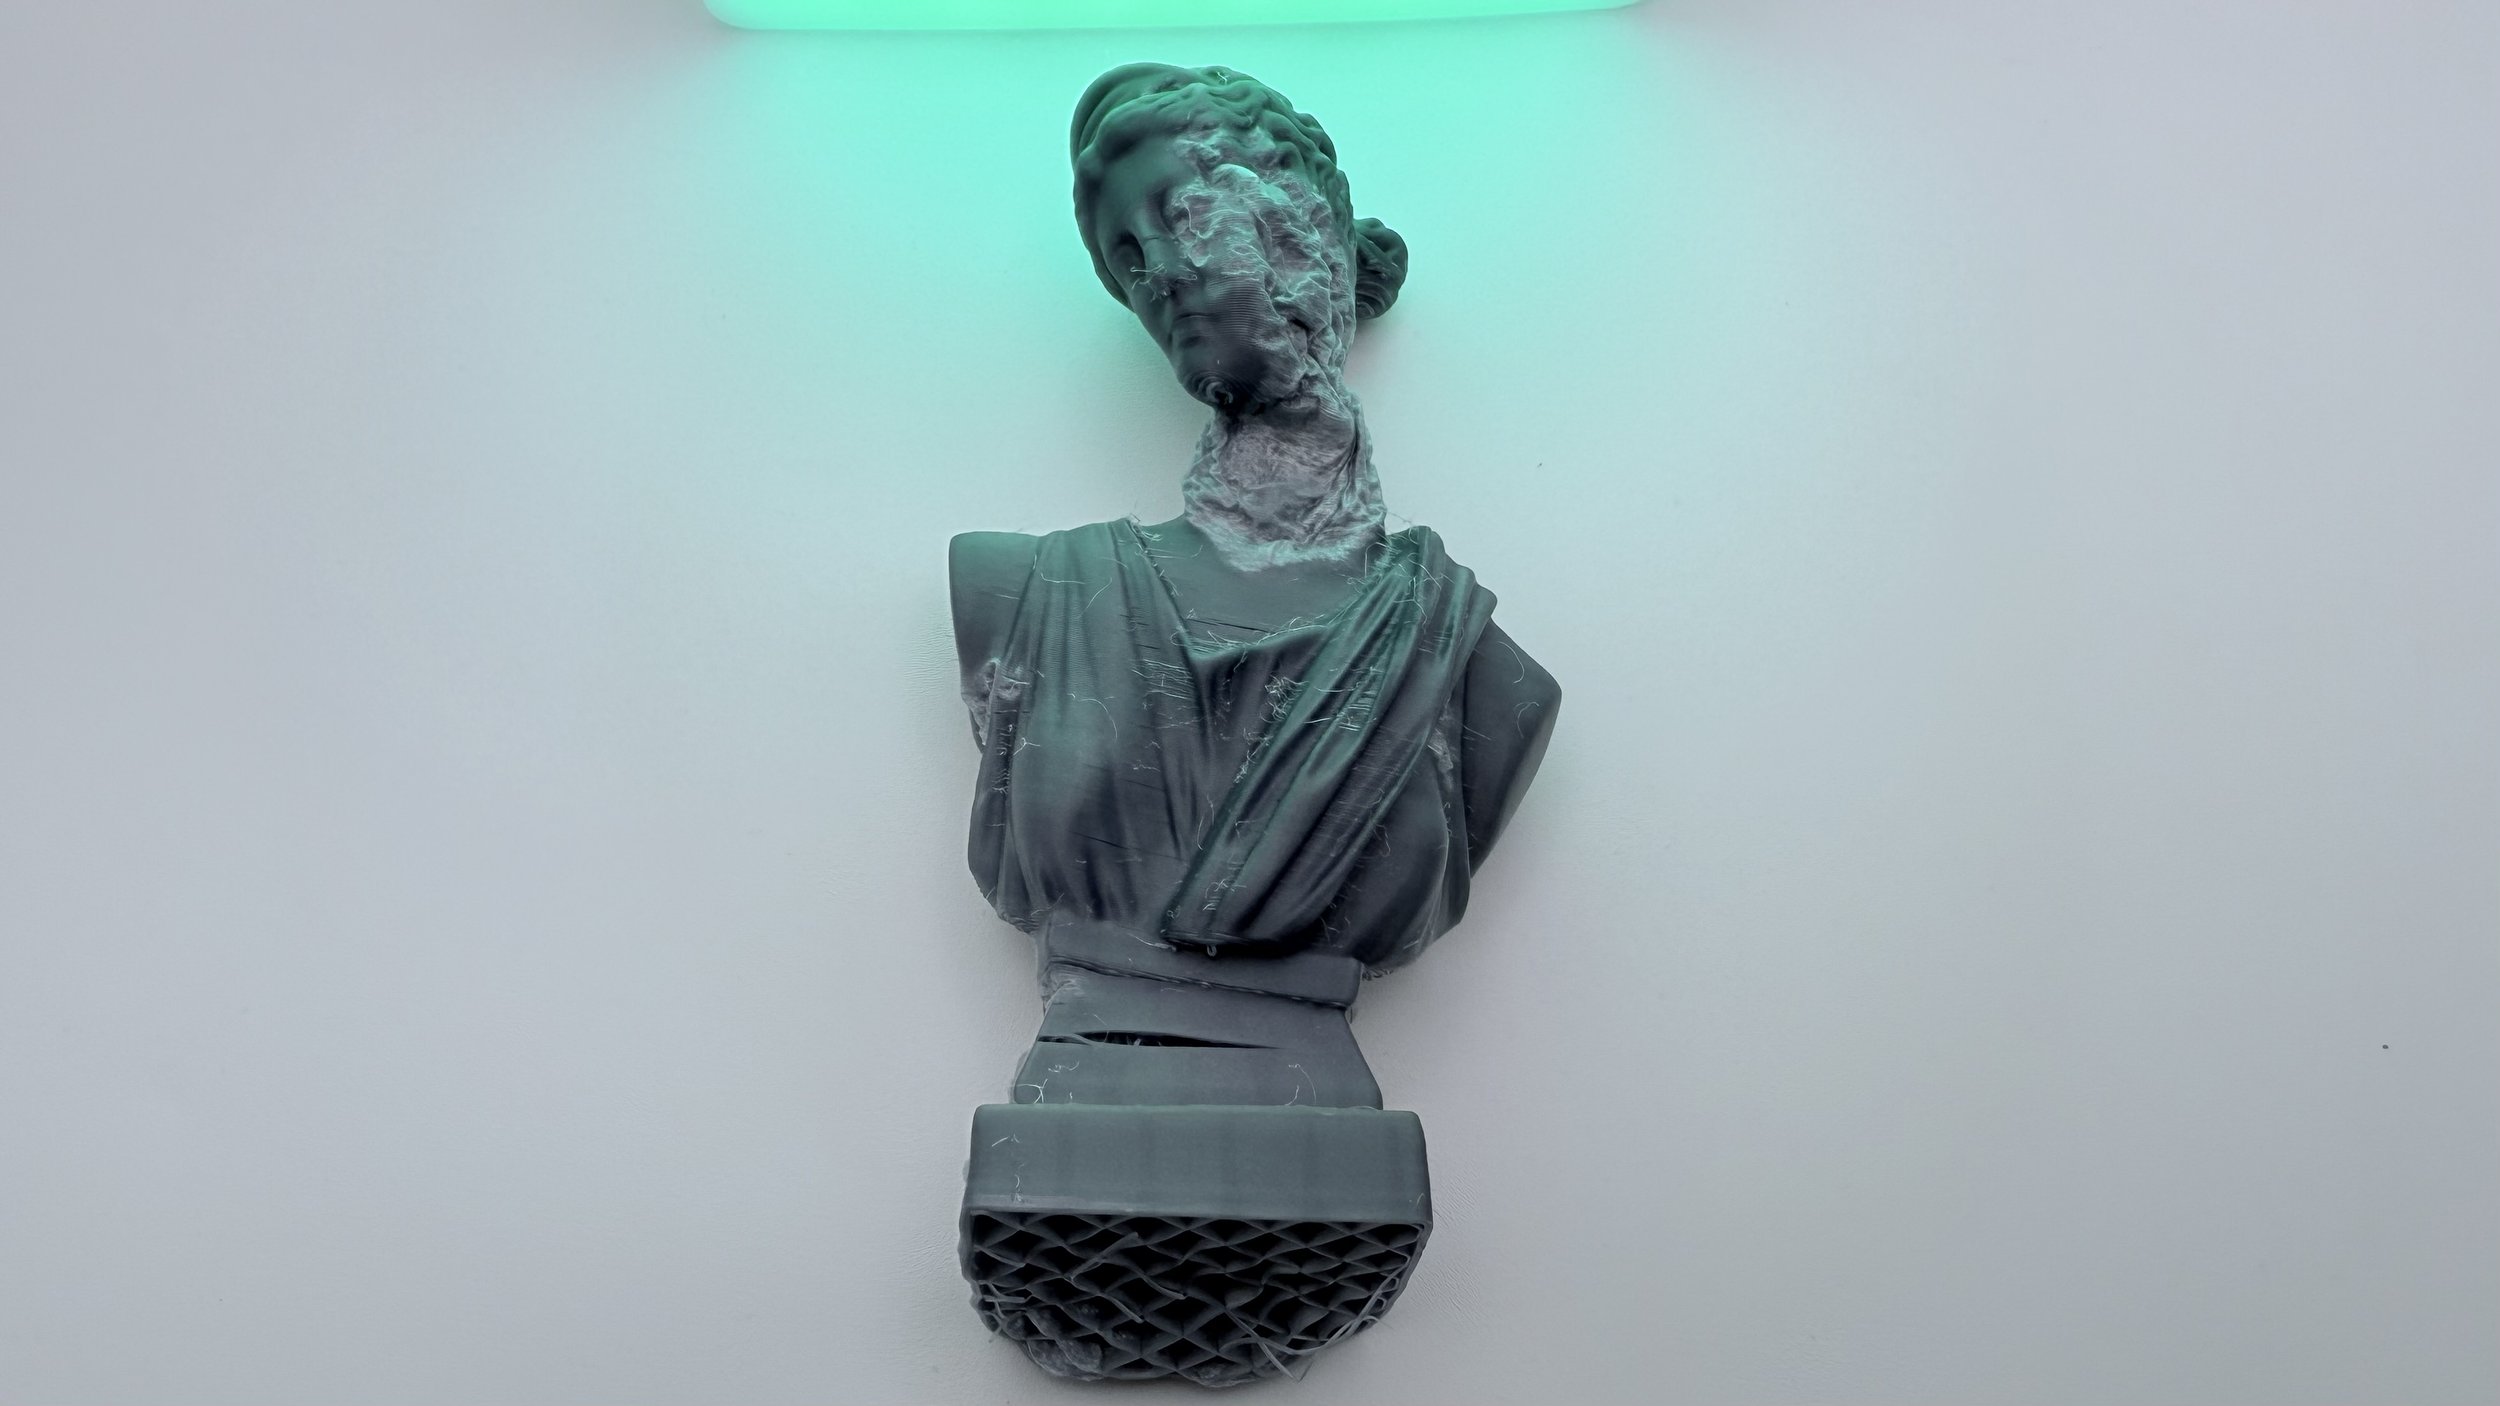
Post-processing: Immediately after printing, submerge in water for 10 seconds to 2 minutes(depending on desired thickness), then apply metal powder while damp for a professional metallic effect.
In all honesty, with TimeMass you won’t just print objects—you’ll print experiences. Think about it. By introducing a new programmable dimension, your designs don’t just sit there. They evolve. Shift. Light up. Soap up. Grow up. Phase out. Disappear and more. You’re actually building moments.
Precision? Built In.
Making a filament with Timeplast is not easy, not at all. We can’t use automated machines for example. Each spool is handcrafted, here in the U.S. and monitored by a human for over a 49-minute cycle per spool. That’s not mass production—that’s obsessive accuracy.
Specs That Actually Matter:
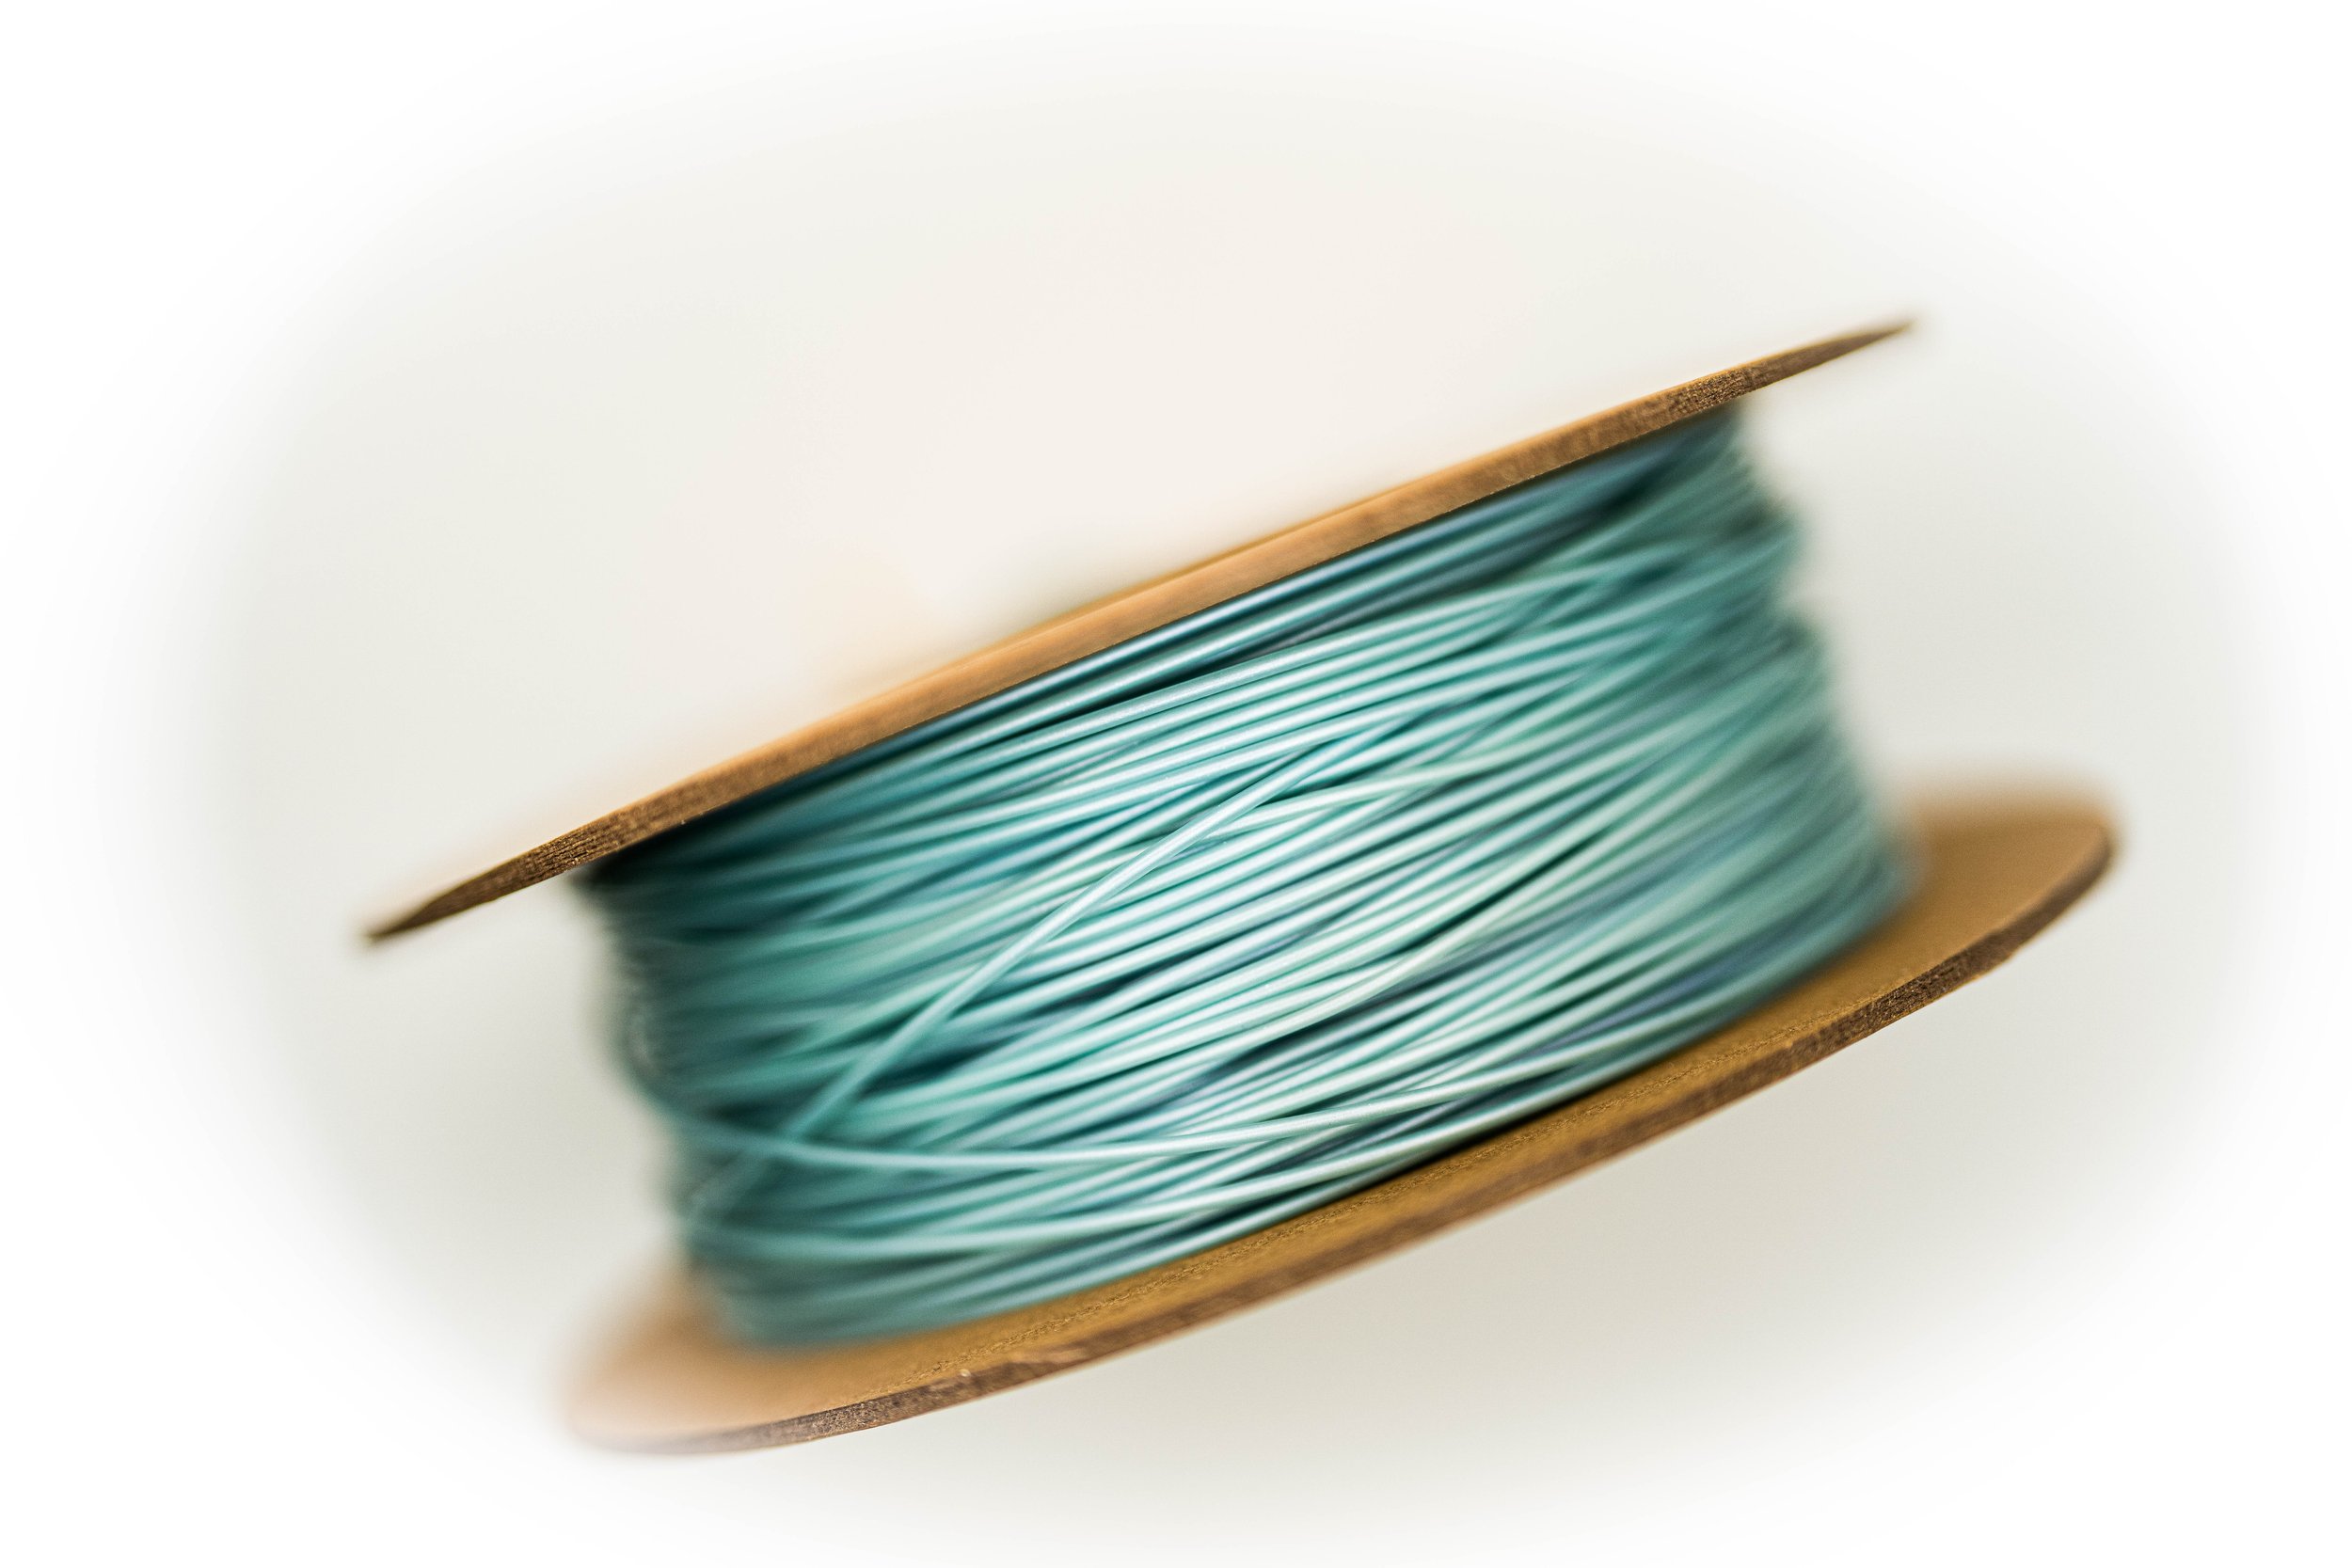
Diameter: 1.75mm
Mass: 0.77lb
Compatibility: Works with all major 3D printers. No drama.
True timed obsolescence
Use filaments with built-in "time codes" like Active, Delayed or Passive to make your prints transform, separate, or self-destruct on schedule. Whether it’s art, function, or straight-up sci-fi—if you can print it, you can make it move.
Water Molecular Disintegration – Print Today, Gone Tomorrow
Yes the words “Molecular Disintegration sounded like something that ChatGPT would say, but no, it’s the only way to explain how our materials dissolve in the presence of water down to a Carbon-to-carbon level. TimeMass breaks down at the molecular level when exposed to water. That’s not marketing—it’s chemistry. Smart materials that serve their purpose, then step aside. Clean, conscious, and built for next-gen applications.
By completing your order, you consent to receive email updates related to your purchase. We may also send you promotional offers, product news, and personalised recommendations. You can opt out at any time by clicking the "unsubscribe" link in any of our emails. Your information will be handled in accordance with our [Privacy Policy].